

A key function of any eDiscovery platform is to let you quickly and easily get to the documents you care about. Reveal offers many ways for you to do that.
In today’s post, the first in a series of four, I will discuss how you can use Work Folders to get to and manage documents.
Folders in Reveal
Reveal 11 uses folders to help with the organization of your data and what you do with that data. Folders in Reveal 11 are like the folders you find in, for example, File Explorer on a PC, Finder on a Mac, or Outlook.
Some folders are created for you by the platform; others you create. Folders are recursive: they might contain subfolders, which might contain more subfolders, which in turn might contain another level of subfolders, and so on. Folders can contain documents – actually, links to documents.
Folders are not just an organizational tool. In Reveal 11, they also are searches.
When you go into Reveal 11, you see five default types of top-level folders: Work Folders, Document Folders, Transcript Folders, Searches, and Admin Views:
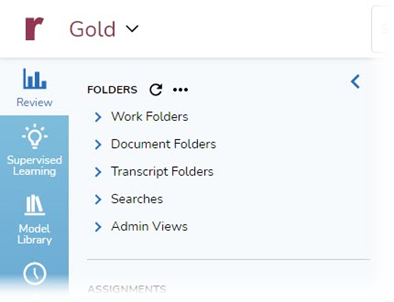
Work Folders: Work Folders are a type of folder that Reveal 11 enables you to create. They are meant as a way for you to organize documents in a project. You can share Work Folders with individuals and teams, either in Read Only or Read/Write mode.
Document Folders: Document Folders replicate the structure of data loaded to the platform. I will cover Document Folders in the next post in this series.
Transcript Folders: If any deposition, hearing, trial, or similar transcripts have been added to your project, they will appear here in subfolders.
Searches: This folder contains subfolders with saved searches – a search that you have saved or that another user saved and shared with you.
Admin Views: This folder contains subfolders specifically for those with administrative rights. They can use the subfolders in the Admin Views folder to view and manage folders and tags for all users.
Work Folders
A Work Folder is an electronic folder you create in the platform and into which other folders or documents are placed. Here you can see a set of Work Folders, and alongside each folder the number of documents in that folder:
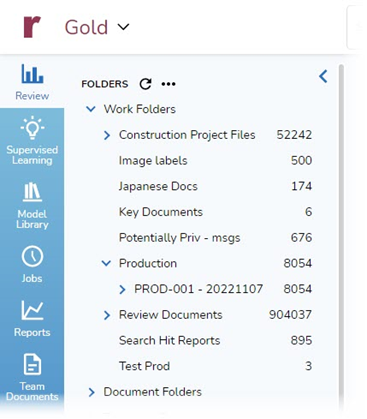
Once you create a Work Folder, you can add more folders to it, add files to it, remove files from it, and use it like any other search.
A single Work Folder can contain many documents, and a single document can be in many Work Folders. When you place a document in the folder, you don’t move the data that is the document. Rather, you create a connection in the underlying database between the folder and the document.
By default, the permissions to Work Folders are set at Read/Write for the person who creates the folder and Read Only for everyone one else. Read/Write means you can add content to or remove content from the folder. Read Only means you have access to the contents of a folder can cannot add content to or remove content from that folder.
You can create hierarchies of Work Folders, share Work Folders with others, make them read-only, and let them be updated.
Accessing Documents in a Work Folder
To access documents in a Work Folder, all you need to do is click on the folder. When you do that, the folder is added to the search bar:
Creating Work Folders
You can create new Work Folders as you need them. To create a new Work Folder:
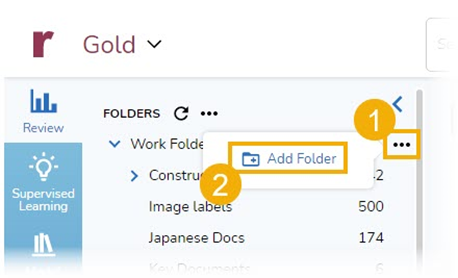
- Click on the three dots to the right of Work Folders, then click on Add Folder:
- Give the new folder a name; I used Special Purpose Entities:
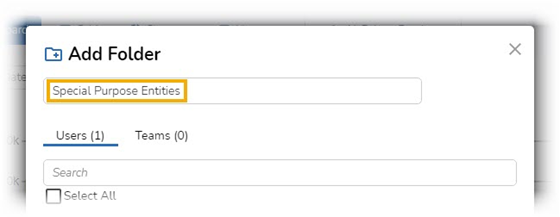
When you create a new Work Folder, by default you are given access to the folder (as indicated by the checkmark) and are given Read/Write permissions (as indicated by the open lock):
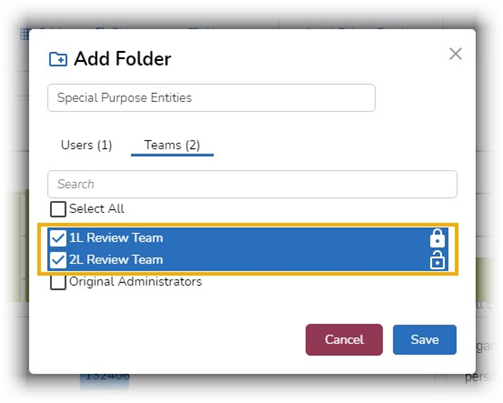
- If you want, you can provide access to other individuals by selecting the check box to the left of the name of each person you want to add. You also give teams access, by clicking on Teams, choosing whatever combination of teams you prefer, and for each team click as necessary on the lock icon to set the level of access to Read Only or Read/Write. Finally, select Save to save the changes you have made:
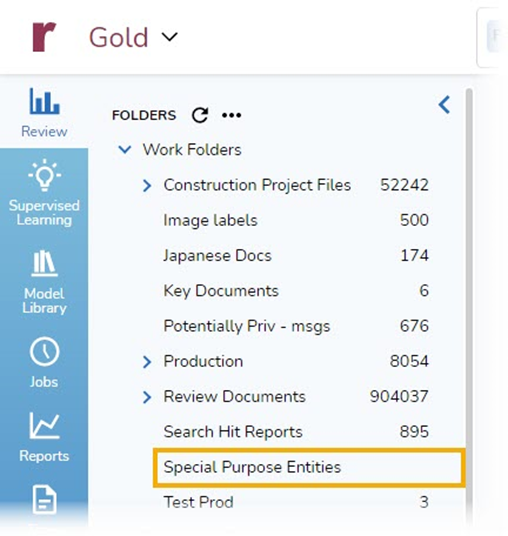
Here, you can see the Work Folder I just added. You also can see that the folder does not yet contain any files:
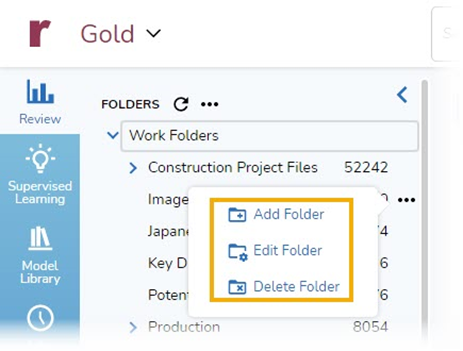
Once you create a Work Folder, you can add subfolders to it; edit the folder, changing its name or the people who have access to it, and changing levels of access; or delete the folder:
Adding Documents
You can add documents to a Work Folder from the Grid several ways including by dragging and dropping documents, using the bulk Update operation, or generating a sample set.
Drag and Drop
You can drag documents from the Grid and drop them into a Work Folder. To do this:
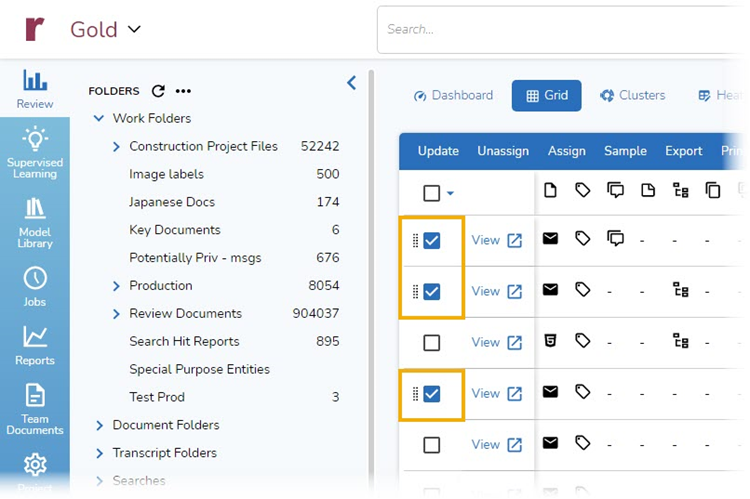
- Select the document or documents you want to add to the Work Folder, by clicking in the box on the left of each document row:
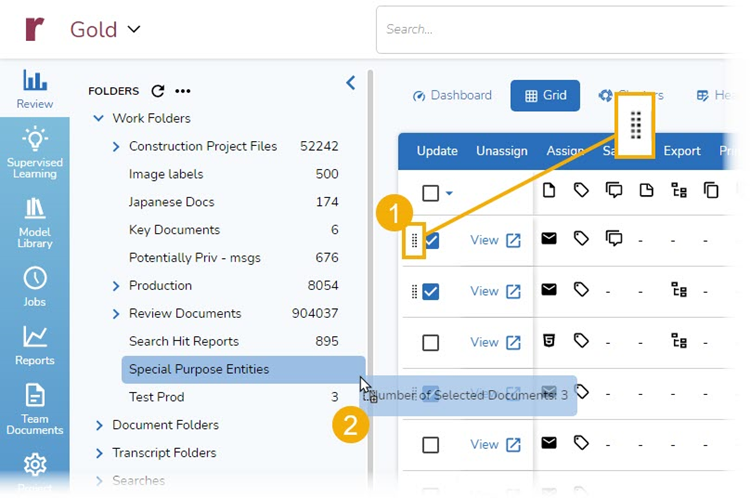
- Drag the control handle next to one of the selected documents, then drag those documents into the folder where you want them to be. Here, I am dragging the three selected documents to the Special Purposes Entities folder:
Use Bulk Update
You can add documents to Work Folders using the bulk Update operation. To do this:
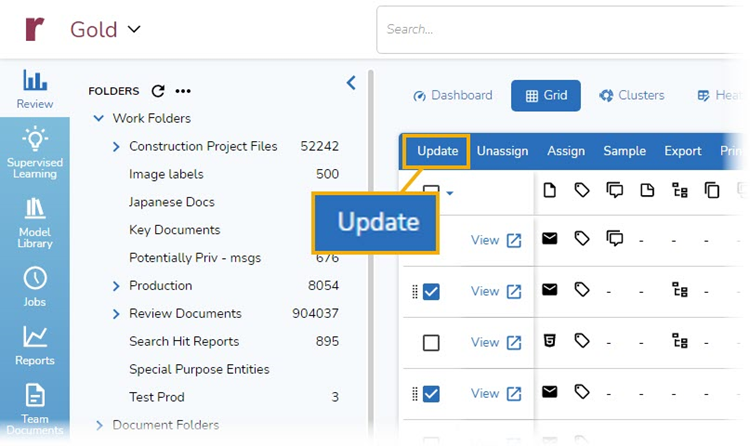
- Select the document or documents you want to add to the Work Folder.
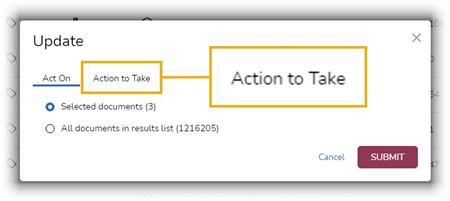
- Click on Update:
- In the Update modal, click on Action to Take:
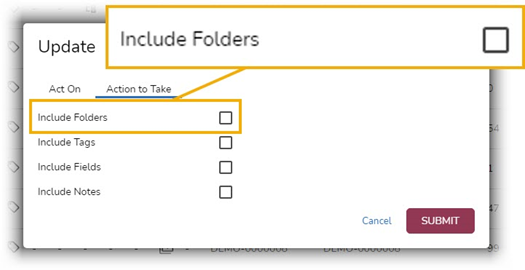
- From the available option, click on Include Folders:
- Click on Work Folders:
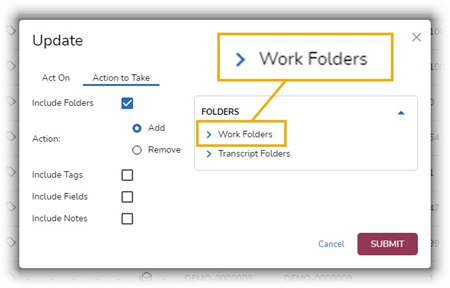
- Click on the box next to the Work Folder to which you want to add the documents and select Submit:

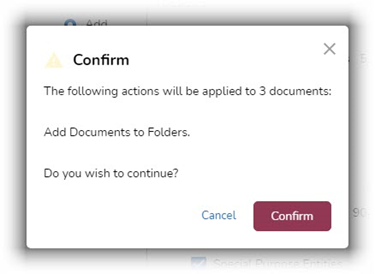
- Confirm that you want to add the documents:
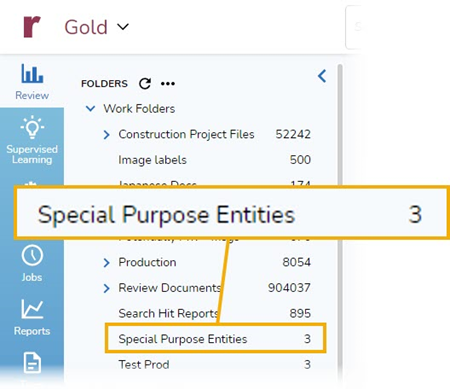
When I look at the Folders area, I can see that three documents have been added to my Special Purpose Entities Work Folder:
Add a Sample of Documents
A third way to add documents to a Work Folder is to generate a sample of documents and add that set. To do this:
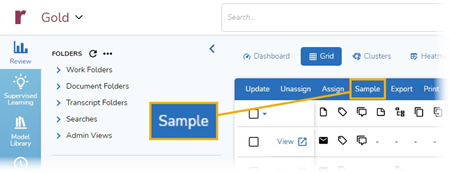
- Click on Sample in the Grid toolbar:
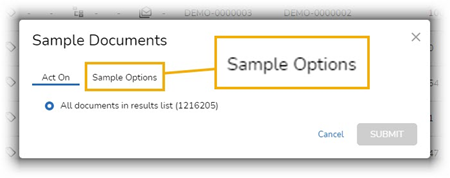
- Click on Sample Options in the Sample Documents modal:
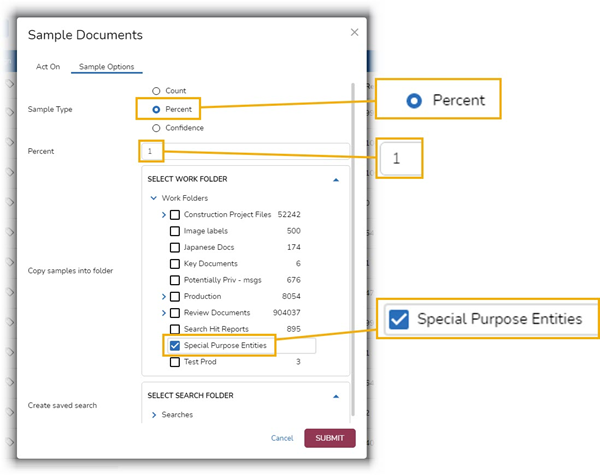
- Choose the type of sample you want to generate, Count, Percent, or Confidence (I opted for Percent). Add a percentage number (I entered 1), select a Work Folder into which the sample documents should be placed (I chose Special Purpose Entities), and submit:
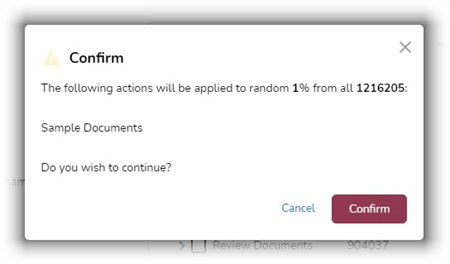
- You will be asked if you want to confirm that you wish to continue with the sampling. I clicked on Confirm:
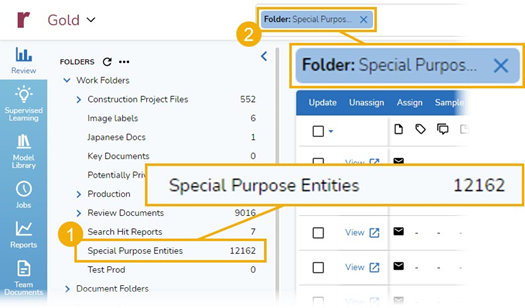
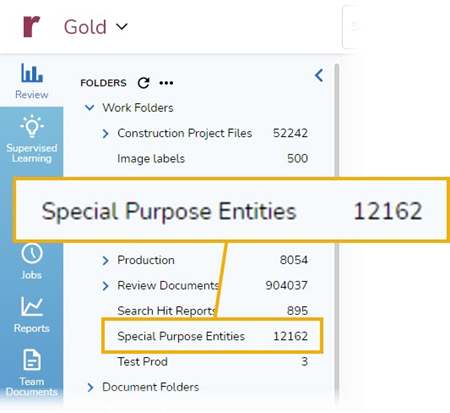
When I return to Review, I see that my sample of 12,162 documents has been added to my Special Purpose Entities folder:
Learn More
Reveal offers a wealth of ways you can find and work with the data that matters to you most. For more information about how Reveal can empower you and your organization, contact us for a demo.